Did you know that over 90% of online photos have been edited in some way? This staggering statistic highlights the significance of photo editing in our digital lives. As someone who's spent years working with Adobe Photoshop, I've seen firsthand the power it holds in transforming ordinary images in...
Amila is the founder of Lanka Websites and a web developer with over 15 years of experience building websites and digital solutions for Sri Lankan businesses. He writes about technology, web design, and the automotive industry from a practical, hands-on perspective.
164 views
211 articles
Share:
Did you know that over 90% of online photos have been edited in some way? This staggering statistic highlights the significance of photo editing in our digital lives. As someone who's spent years working with Adobe Photoshop, I've seen firsthand the power it holds in transforming ordinary images into extraordinary ones.
You've likely come across stunning photos that seem almost too perfect to be real. Chances are, they've been edited using Photoshop. With its vast array of tools and features, Photoshop can be both overwhelming and exciting to use.
As you start editing your photos, you'll discover the potential to enhance, manipulate, and perfect your images. You'll learn how to adjust lighting, fix flaws, and add creative effects that take your photos to the next level. By mastering the basics of Photoshop, you'll be able to unlock the full potential of your photos and bring your vision to life.
In the following article, you'll gain hands-on knowledge of how to edit photos in Photoshop, with practical tips and techniques to help you achieve professional-looking results. You'll learn how to work with layers, use the healing brush, and apply adjustments to create stunning images that reflect your unique style and perspective.
Getting Started with Photoshop
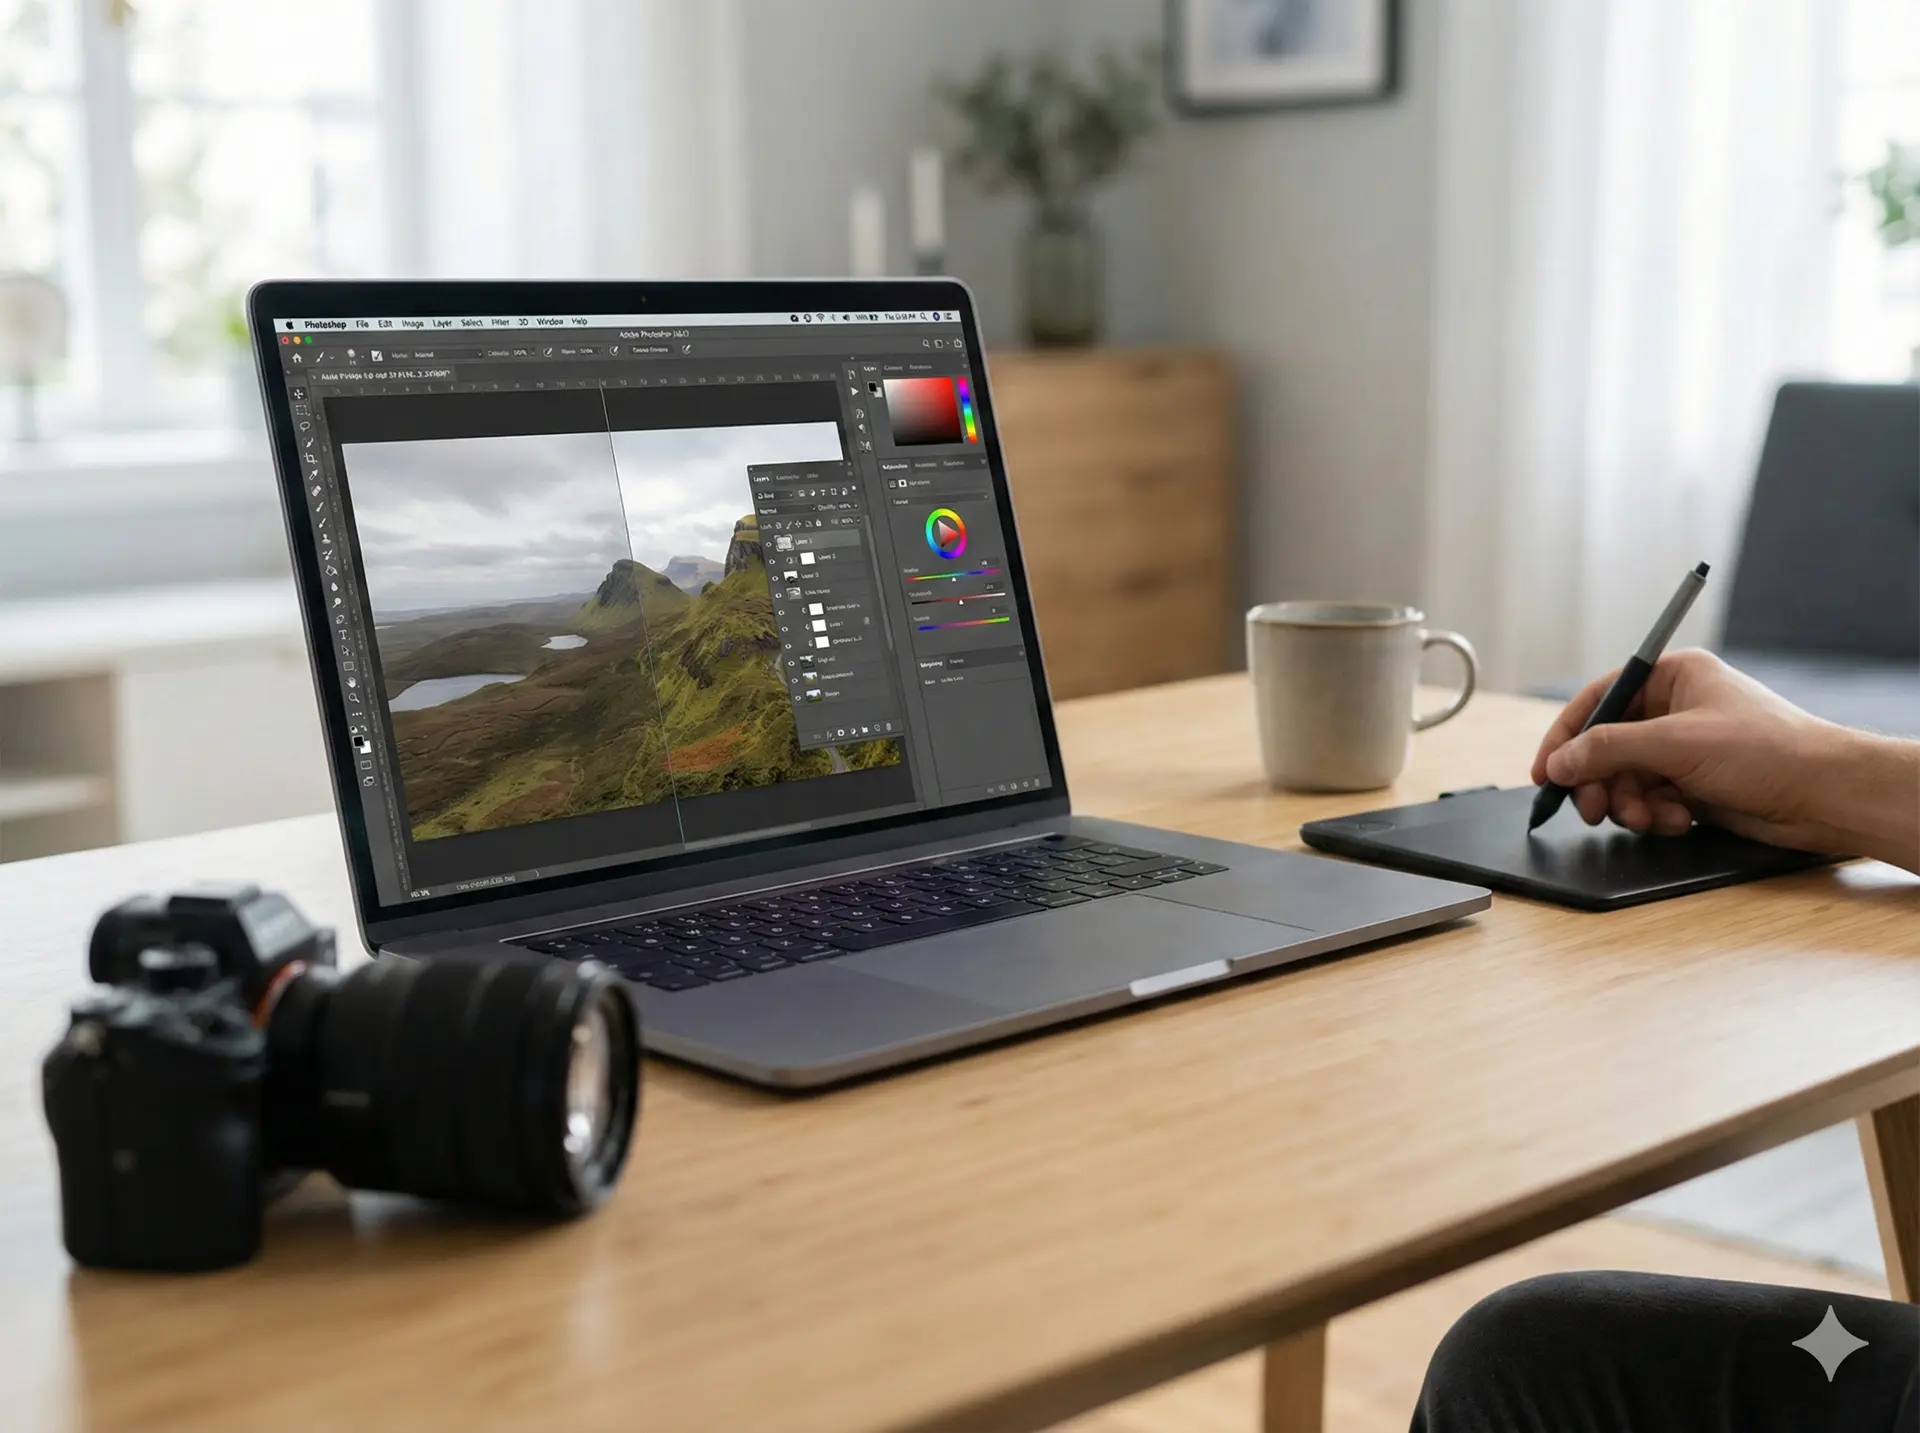
I still remember my first encounter with Photoshop - I was a young designer, eager to edit a photo for a college project. The interface seemed daunting, with countless tools and menus that made my head spin. But as I started exploring, I discovered the power and flexibility of this incredible software. If you're new to Photoshop, you're probably feeling a bit overwhelmed too. Don't worry, I'm here to guide you through the basics.
Let's start with the interface. When you launch Photoshop, you'll see a workspace with various panels and menus. The top menu bar provides access to essential functions like file management, editing, and help resources. On the left side, you'll find the Tools panel, which contains a wide range of editing tools, from basic selection tools to advanced brushes and effects. You can customize this panel to suit your workflow, but for now, let's focus on the essentials. The right side of the workspace is dedicated to the Layers panel, where you can manage and organize your image components.
Tool Basics
Photoshop's tools are the heart of the software, and understanding how to use them is essential for effective editing. Let's take the Marquee tool as an example. This tool allows you to select rectangular or elliptical areas of your image, which is useful for cropping, resizing, or applying effects to specific parts of the image. To use the Marquee tool, simply click and drag it over the desired area - you can also use the Shift key to constrain the selection to a perfect square or circle. As you become more comfortable with the tools, you'll discover the power of combining them to achieve complex editing tasks.
For instance, I once worked on a project where I needed to remove a distracting object from a photo. I used the Clone Stamp tool to sample a nearby area and then painted over the object, seamlessly blending it with the surrounding environment. This is just one example of how Photoshop's tools can be used to achieve stunning results. As you practice and experiment, you'll develop your own workflow and techniques, and that's when the real magic happens.
At a Glance — How to Edit Photos in Photoshop (click to enlarge)
Understanding Layers and Masks
I still remember my first experience with Photoshop, trying to edit a photo of a beautiful sunset. I wanted to enhance the colors and contrast, but I ended up with a mess, overwriting the original image. And that's when I discovered the power of layers and masks. You can think of layers as separate sheets of transparent paper, each containing a different element of your image. By working with layers, you can edit and manipulate different parts of your photo without affecting the rest.
And this is where things get practical. When working with layers, you'll encounter different types, such as background layers, image layers, and adjustment layers. Each type serves a specific purpose, and understanding their differences is key to mastering Photoshop. For instance, background layers are the base of your image, while image layers can be used to add new elements, such as text or graphics. Adjustment layers, on the other hand, allow you to apply non-destructive edits, like exposure or color adjustments, without altering the original image.
Masks are another essential tool in Photoshop, enabling you to selectively apply edits to specific parts of your image. You can create masks using the pen tool, selection tools, or even brushes. For example, let's say you want to apply a local contrast adjustment to a specific area of your photo. You can create a mask using the brush tool, painting over the desired area, and then apply the adjustment. This way, you can target specific parts of your image without affecting the rest. A good case study is the work of photographer Peter McKinnon, who uses masks to create stunning, high-contrast portraits.
As you work with layers and masks, you'll begin to appreciate the flexibility and control they offer. You can experiment with different masking techniques, such as feathering or inverting, to achieve unique effects. The key is to practice and understand how layers and masks interact with each other. With time and experience, you'll develop a workflow that suits your editing style, and your photos will start to look more polished and professional.
Adjusting and Retouching Photos
I still remember the first time I edited a photo in Photoshop - I was trying to fix a poorly lit portrait of my sister. The image was underexposed, with deep shadows that made her features almost unrecognizable. But with a few simple adjustments, I was able to bring out the details and create a beautiful, natural-looking image. You can achieve similar results by making exposure adjustments in Photoshop.
But wait -- there's more to consider. Exposure adjustments are just the beginning. You can use the Exposure slider to brighten or darken an image, but this can also affect the overall contrast and color balance. To make more targeted adjustments, you can use the Curves tool, which allows you to adjust the tonal range of an image with precision. For example, if you're working with a portrait, you can use the Curves tool to add depth and dimension to the subject's face, while also ensuring that the background remains well-balanced.
Retouching tools are another essential part of the photo editing process. Photoshop offers a range of tools, including the Spot Healing Brush and the Clone Stamp, which allow you to remove blemishes, wrinkles, and other imperfections from an image. You can also use the Content-Aware Fill feature to remove larger objects or areas from an image, and have Photoshop automatically fill in the gap with matching content. For instance, if you're editing a product photo and need to remove a distracting background element, you can use the Content-Aware Fill feature to seamlessly remove the object and replace it with a clean, neutral background.
When retouching photos, attention to detail is key. You need to carefully examine the image and identify areas that require adjustment, whether it's a small blemish or a larger object. You can use the Zoom tool to get a closer look at the image, and the Hand tool to move around the image and access different areas. By combining exposure adjustments with retouching tools, you can create stunning, professional-looking images that are sure to impress.
Using Filters and Effects
I still remember the first time I edited a photo in Photoshop - I was trying to enhance a sunset picture, and I stumbled upon the filters panel. I was amazed by the sheer number of options available, from simple adjustments like brightness and contrast to complex effects like lens flares and textures. But here's where it gets interesting - as I began to experiment with different filters, I realized that each one had its own unique characteristics and uses.
When it comes to applying filters, you can choose from a wide range of types, including pixelation, blur, and distortion filters. For example, you can use a Gaussian blur to soften the edges of an object, or a motion blur to create a sense of movement. You can also use filter layers to apply multiple filters to a single image, allowing you to combine different effects and create complex, layered looks.
Effect techniques are another powerful tool in Photoshop, allowing you to add subtle (or not-so-subtle) enhancements to your images. For instance, you can use the Orton effect to create a dreamy, ethereal atmosphere, or the high-pass filter to add texture and depth to a portrait. One specific example that comes to mind is a photo shoot I worked on with a fashion brand - we used a combination of filters and effects to create a moody, cinematic look, with deep shadows and rich, vibrant colors. The result was a set of images that looked like they belonged in a high-end magazine.
To illustrate the power of filters and effects, consider the following scenario: you're editing a photo of a cityscape at night, and you want to enhance the lights and colors of the scene. You can start by applying a warm filter to the entire image, which will help to bring out the golden tones of the streetlights and buildings. Then, you can use a local contrast effect to add depth and dimension to the image, making the lights and shadows stand out more clearly. Finally, you can add a starburst effect to the brightest lights, which will help to create a sense of energy and movement in the scene.
Saving and Exporting Your Work
I still remember the first time I spent hours editing a photo in Photoshop, only to realize I had no idea how to save it properly. The client was waiting, and I was left scrambling to figure out the best way to export the file. This experience taught me the value of understanding the various file formats and export options available in Photoshop.
When saving your edited photos, you have several file formats to choose from, including PSD, TIFF, and JPEG. Each format has its own unique characteristics and uses. For example, PSD files are ideal for saving layers and edits, while TIFF files are better suited for high-quality prints. JPEG files, on the other hand, are perfect for web use due to their smaller file size.
Export Options
Photoshop also offers a range of export options, including Save for Web and Export As. The Save for Web option allows you to optimize your image for web use, reducing the file size while maintaining quality. The Export As option, on the other hand, provides more flexibility, enabling you to choose from a variety of file formats and settings. For instance, you can export your photo as a PNG file with transparency, or as a PDF file for printing.
A specific example that comes to mind is a project I worked on where I had to export a photo for use on a website. I used the Save for Web option to reduce the file size, and then used the Export As option to save the file as a JPEG with a specific width and height. This ensured that the image loaded quickly on the website while still looking sharp and clear. You can also use the Batch feature to export multiple files at once, saving you time and effort.
By understanding the different file formats and export options available in Photoshop, you can ensure that your edited photos are saved and exported in the best possible way, whether it's for web use, printing, or sharing with clients. You can experiment with different formats and settings to find what works best for your specific needs, and with practice, you'll become more confident in your ability to save and export your work like a pro.
Unlock Your Creative Potential
As I reflect on my own journey with photo editing, I remember the thrill of discovering the endless possibilities in Photoshop. With every click and adjustment, my photos transformed into stunning works of art. The key to unlocking your own creative potential lies in mastering the art of editing, and now you have the tools to do just that. By applying the techniques and strategies outlined, you'll be able to breathe new life into your photos and tell stories that captivate and inspire. So, what will you create first when you start editing your photos in Photoshop today?
Frequently Asked Questions
The best way to learn Photoshop is through practice and online tutorials
The system requirements for running Photoshop include a multi-core processor, at least 8GB of RAM, and a dedicated graphics card